TestNG Framework
TestNG is a test framework that lets us express all categories of tests such as Unit tests, Regression tests, End-to-End tests, and Smoke tests using Java programming language. We use TestNG to create and manage our automated test cases.

In this code note, we will cover following topics:
- Intro to TestNG
- Creating a Test Case
- Annotation
- Organizing Test Cases
- Generating Test Reports
› Intro to TestNG
You can add TestNG to your maven project by including the following dependency in your pom.xml file dependencies section.
TestNG testing framework offers the following functionalities:
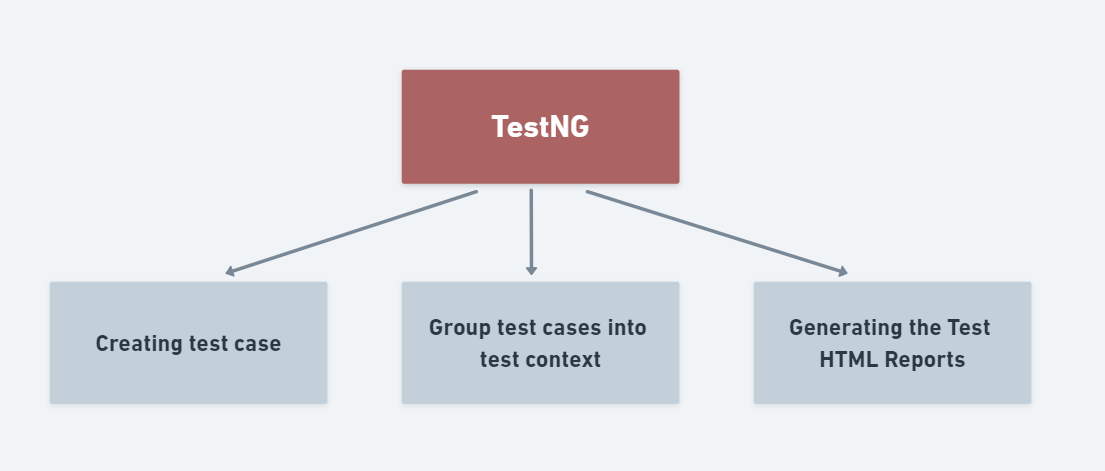
We are creating test caseAbility to express test cases in Java programming language.Group test cases into test contextsAbility to group test cases into test contexts such as Smoke Test.Generate Test ReportsAbility to generate test execution reports automatically after each test execution.
› Creating a Test Case
It is not an overstatement to say that TestNG was created to enable representing manual test cases in Java programming language. TestNG or any other test framework is designed to express test cases. In TestNG, you must follow these three steps to define a test case.
- Create a
Test Class- Create a method with
public void methodName() {... }signature- Add
@Testannotation just before the method you created in step 2.
Typical TestNG test case looks like this:
Test Class
It is a Java Class that contains groups of related test cases; in our example, LoginTest is our test class. Note that postfix ..Test in the class name is required. You must use the Test postfix in your test class name. Otherwise, maven will not scan the class for test cases. This particular test class contains or groups the following three test cases:
loginValidTestCase()logoutTestCase()passwordRetrievalTestCase()
Test Case
A regular non-static java method with @Test annotation and its return data type is always void. Each of the test cases you create should be independent and standalone.
You might be wondering, what are annotations? Let's cover them first as it is the fundamental and the most powerful TestNG feature.
› Annotations
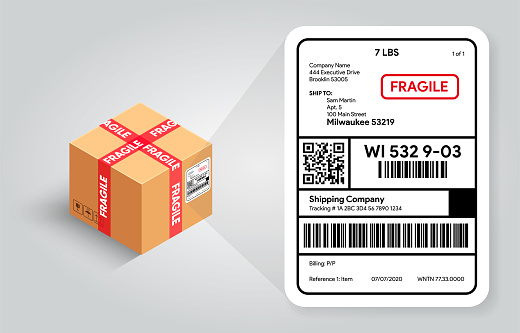
Annotations are nothing but a label that we can put to the Class, Methods, and Variables, which changes how the CPU treats them during Java code execution**. For example, as an analogy, if you have a FRAGILE label on your box, it changes the way you handle this box. The same thing applies to the code as well; when the CPU executes the Java code with the annotations, it runs them in a different way defined by the annotation.
Here is the complete list of TestNG annotations:
| Annotation | It's effects on the labeled Class, Method, Variable | Execution Order |
|---|---|---|
@BeforeSuite |
Marked method will be executed before Test Suite execution begins. | Pre-condition test suite level |
@BeforeTest |
Marked method will be executed before the execution of any of the test case that belongs to the Test. | Pre-condition test level |
@BeforeClass |
Marked method will be executed before the execution of any of the test case that belongs to the Test class. | Pre-condition test class level |
@BeforeMethod |
Marked method will be executed before each test case execution. | Pre-condition test Case level |
@Test |
Marked method will be a valid Java test case. | Condition: test case |
@AfterMethod |
Marked method will be executed after each test case execution. | Post-condition test case level |
@AfterClass |
Marked method will be executed after all the test cases in Test Class are executed. | Post-condition test class level |
@AfterTest |
Marked method will be executed after all the test case that belongs to a specific test has been executed. | Post-condition test level |
@AfterSuite |
Marked method will be executed after all the test case in Test Suites has been executed. | Post-condition suite level |
We will use all of these annotations when we create a test automation framework. Please make sure to memorize them.
› Organizing Test Cases
Typical automation test suites contain hundreds of automated test cases, it is extremely important that we group and organize these test cases. There are two ways you can group your test cases.
- Using
@groupstest case attribute - Using
testng.xmlfile
Using @groups test case attribute
This is the easiest way you can organize your test cases. You can label each of your test cases using this attribute.
To label your test case as a "smoke" do the following.
If the test case belongs to multiple labels, do the following
To execute the only test cases with specified groups, invoke the following maven command
Take a look at the following simple example.
TestClass
Executing the following maven command will give us the results:
test executions that have overlapping labels such as mvn test -Dgroups="smoke", "reg" will not result in duplicate test execution. For example, with this given command, testCase2() and testCase6() will only execute once, not once for the "smoke" or "reg". It will be only executed once since it does not make sense to repeat test execution of the same test cases two times.
Using testng.xml file
Another effective way to organize the test cases is to utilize the testng.xml file. This file is used to organize the test cases created by TestNG annotations. You must create this file in the root directory of your maven project and include it in the pom.xml file.
As you can see this testng.xml file specifies that this project includes a test context titled DialySmokeTestRun that includes all of the test cases from the following test classes:
This is how we can organize our test cases into test contexts.
Linking the testng.xml file into the pom.xml file:
Create this build section right under the <dependencies> section.
If you remember, maven is a collection of small programs known as plugins. Maven uses maven-surefire-plugin to execute all the TestNG-related test cases in your project when you invoke the mvn test command. By configuring this plugin to scan through the testng.xml file before executing any test, we can let the maven know the test structures and organizations in our project.
› Generating Test Report
TestNG provides a default HTML report titled sure-fire report which is generated every time when you execute tests. This report can be found under the targets folder of the maven project.
An example of this report looks like this:
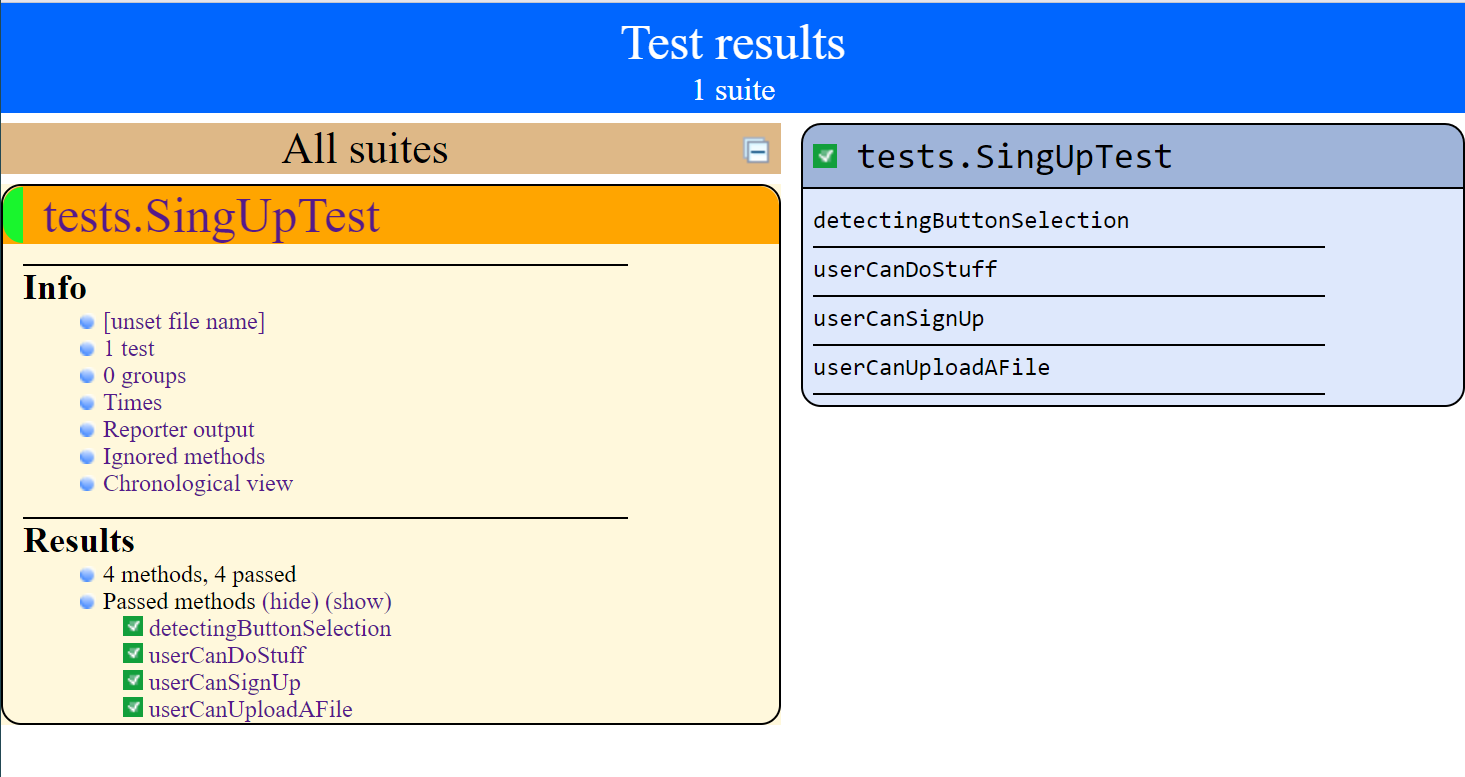
However, as you can see, this report is outdated. For this reason, TestNG offers the capability of implementing our own reports through the ITestListener interface. The user of TestNG has an option to implement all the methods specified in this interface. Each of the methods implemented by the user will be automatically executed when the actual test cases are executed, passed, skipped, or failed.
ITestListener interface methods:
Here is the example of my class TestDetector that implements the ITestListener interface.
Test Detector Class
After the implementation of this interface with this class, all you have to do is to make sure this code will be used when the test is executed. This can be achieved by linking this class as a test listener to the test class or by including them in the <listener> tag in the testng.xml file.
Linking the listener class to the test class:
Linking the lister class to the <listener> tag in testng.xml file:
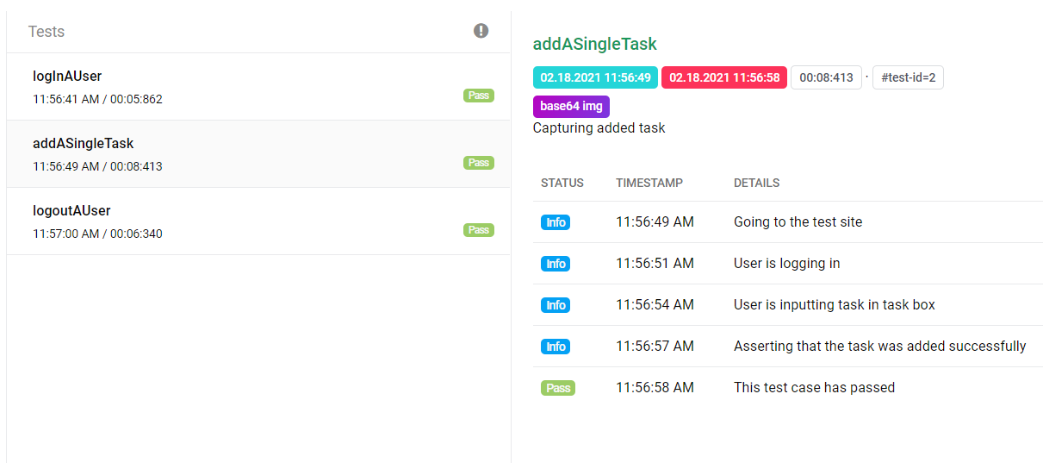
Here is an example of a custom-made report utilizing the implementation of the ITestListener interface.